I have an amazing
sewing studio but, at this time of year, some of my creative work needs to be accomplished in closer proximity to the rest of the family. This has been the case for generations of home-makers whether they were needing to catch up on mending or enjoying more creative pursuits.
Having a sewing or work box in the living room, family room or den had
long been the norm. This sewing box on legs appears to be about fifty years old and definitely due for a make-over. It is sturdy and has good bones, but the brown wood-grain vinyl and the torn tufting on the top, while evocative of another time, is not my idea of beauty .
Here, the top is removed and the hinges unscrewed; where the vinyl had been stapled to the lid was attached a heavy piece of pale, peachy-pink cardboard. I carefully removed the staples with the intent to reuse the cardboard. When that was done, I removed the many staples holding the vinyl to the lid.
Here the piece is completely stripped. I carefully stored all the hardware and decorative elements and started the recovering process. The original tufts for the lid were created with large plastic button tacks. Over the years, some of these had gone missing so I decided to replace them with covered buttons using the fabric used to recover the lid.
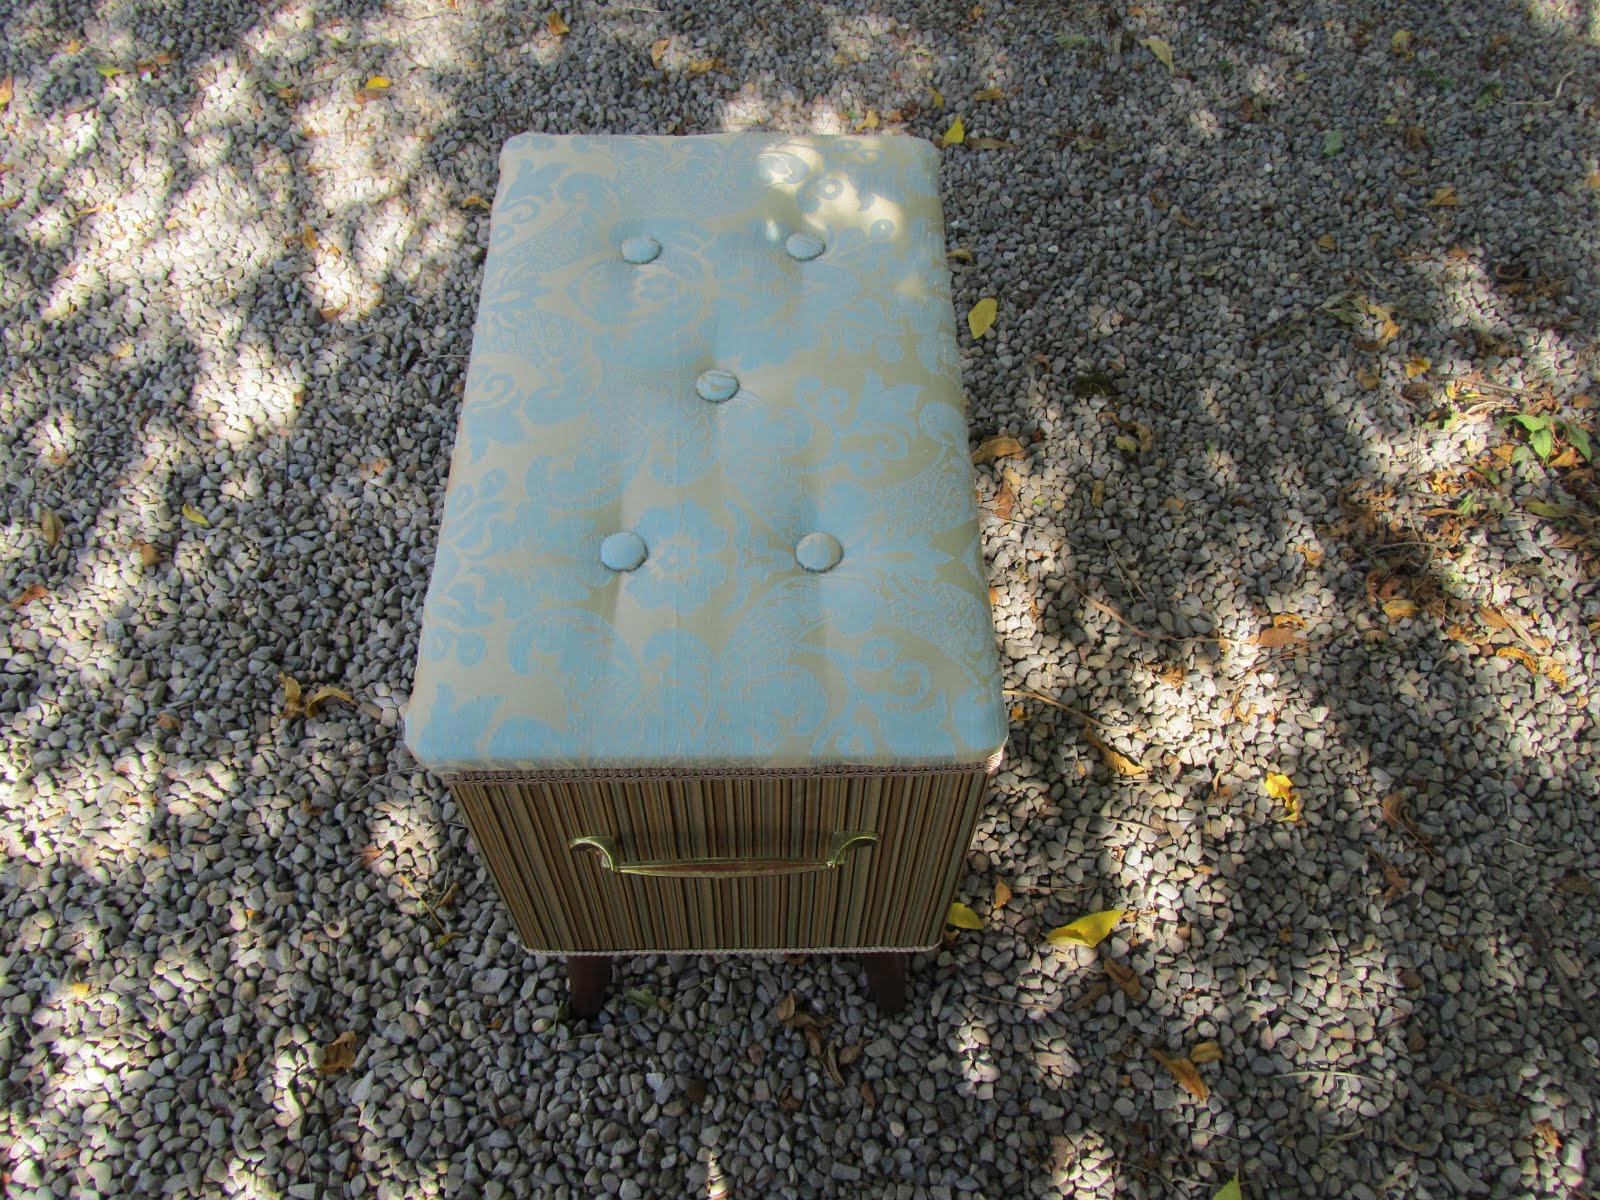
This photo shows the completed work box with a focus on the lid's tufting. The original button tacks did not extend all the way through the wood of the lid so I made holes in the lid where I wanted the tufting and then used heavy, waxed button thread to thread through the wood and the shank of the button, then stapled it to the underside of the lid to create enough tension to make defined tufts.
Once I had stapled the cardboard to the underside of the lid, I realized that the staple width did not match the original staples and it generally looked messy. I decided to use some of my small stash of vintage wallpaper to cover the cardboard and finish off the look of the inside of the lid.
The fabric that I used on the sides was very slippery on the fibreboard sides of the work box, so I decided to use some fabric glue to prevent it from sagging. I made a big mistake by not checking if the glue would stain the fabric. The bottle stated that it would not stain most fabrics; the moral here is to always perform a spot test.
Fortunately, with the light inside my family room, the glue staining is barely noticeable. The ideal location of this sewing box is in the family room, between my favourite chair and the sofa, in front of a vintage sewing machine cabinet that we use as an end table.
Here is the work basket, fully stocked with vintage and modern sewing notions and ready to go. Under the removable plastic tray I can store whatever I am working on and close everything up until I return. This functional furniture piece is very sturdy and can be used as a stool, or a great location for a tray and a cup of tea. Even one of our cats has claimed it as a favourite rest... ahem, work site!
Along with Blogtoberfest, I am linking this post to
My Creative Space which is hosted by Kirsty. So many ideas by creative people...


3 comments:
What a great piece of furniture and I love how you have transformed it.
you made nice work of an old piece :)
gorgeous ! what a snazzy lil thing you have there. awesome revamp
Post a Comment